|
Pyestock Diaries
home | pyestock diaries | down, down, down! car!
We were running low on time and so it was agreed to make our way back across the site. Tom had discovered
another of Sahara’s sets, this time in Cell 3, and mentioned some doors.
Again I’d seen many pictures but managed to miss it every trip so I was pleased Tom had found it. I was intrigued though:
how had we managed to miss them as we’d explored Cell 3 during our first trip? Of course, no other
explorers really helped as they mistakenly called everything Sahara; this now apparently included modifications to
Cell 3 and Cell 4.
We snaked out of Battle and back into the unseasonably hot sunlight. A quick jog across the
open ground outside Battle Test House and we were back within the confines of
Cell 1 & 2. However, we were a large group and the five of us travelled slowly. And as we
snaked towards the confines of Cell 1 & 2 a car suddenly appeared on the service road adjacent.
"DOWN! DOWN! DOWN!"
It had the slowness of a Mexican wave: I was down as soon as I saw the car as was Marlon.
Strangely Brown, another explorer of experience, hit the deck as soon as he saw us react. Alex, a friend of mine, and
first time urban explorer, was slower but quickly got into the spirit of it when he realised what was happening.
Unfortunately Tom was loitering at the back and was in full sight of the car as it was passing and
hadn’t realised what was going on. Four urban explorers turned and hissed (because shouting would’ve been a dead giveaway): "DOWN! DOWN! CAR!"
|
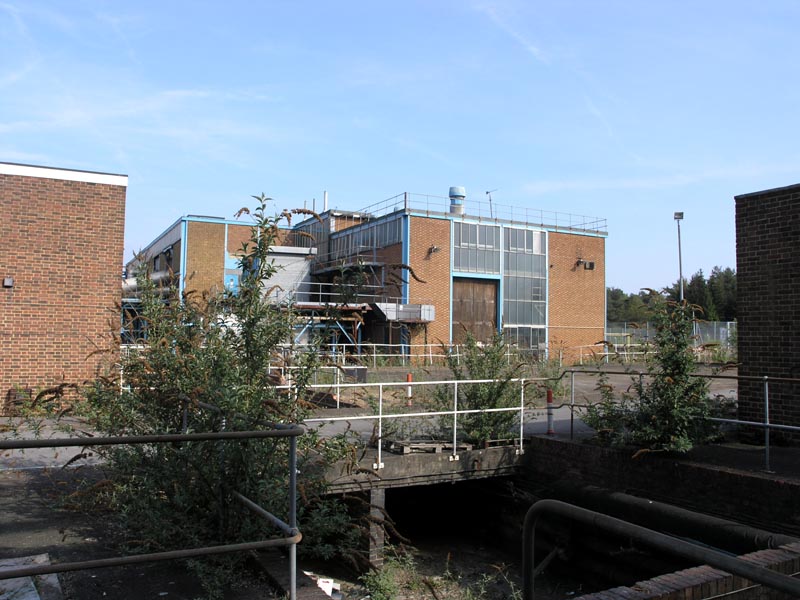
The exposed area between Cell 1 & 2 and Battle Test House. Looking east towards Battle. The fence can be seen to the right.
21|04|07 © Simon Cornwell 2007
|
|