Pyestock Diaries
home | pyestock diaries | down, down, down! car!
Our visit to Cell 1 & 2 included lighting painting the pitch-dark control room, trying to illuminate the
Pyestock mosaic punched into the control panel, exploring Cell 1 (and taking several
self-portrait shots) and admiring the concrete brutality of the exhaust bunker behind. Yet again, we missed the opportunity to photograph Cell 2,
and none of my pictures worked out well. Cell 1 & 2 required a thorough exploration and photographic record
and yet it was always doomed to be on the way to somewhere else. I was always pencilling it in for future trips.
As with this trip, Cell 1 & 2 just made a convenient hop towards Battle Test House,
one of the huge buildings that fronted the eastern transformer park and we’d yet to step inside. After a quick jog to its western door
(which conveniently swung open for us) we quickly dived inside, wary that the car patrolled on the road just outside the building. Any
thoughts of running towards Admiralty Test House and/or the Power Station
were frustrated by the fence.
Battle Test House was a huge mass of machinery in complete contrast with the rest of Pyestock.
The dust and debris lay thick and suggested the building had been long abandoned. We all separated again, diving between boilers and climbing ladders
to narrow gantries. Further control rooms and test cells were found to its rear but most had been completely stripped.
Whilst exploring Battle we bumped into another group of explorers who had entered via its eastern end.
A much friendlier bunch, we chatted in the offices to the east of the building, whilst keeping an eagle eye out for the security car patrols. They
were having a relaxed time and enjoy their own exploration, marvelling in the industrial beauty and might of Pyestock.
|
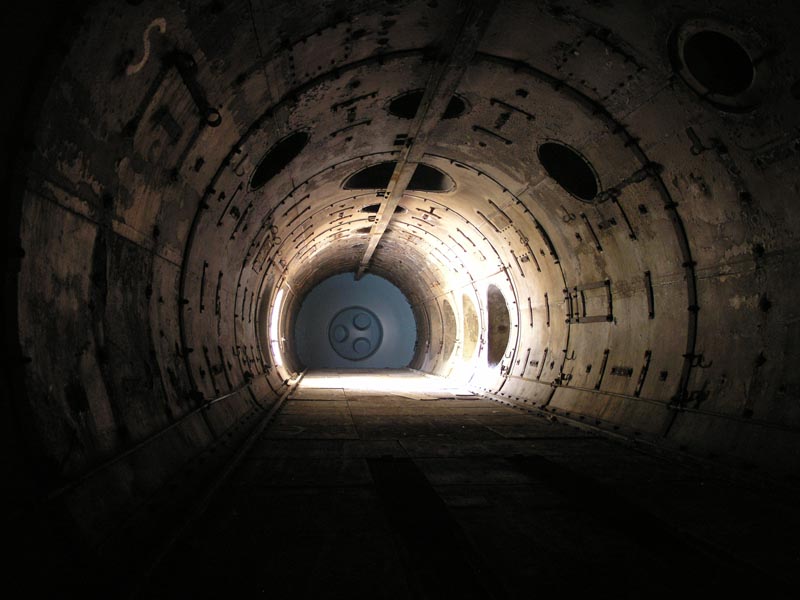
Looking north inside Cell 1.
21|04|07 © Simon Cornwell 2007
|
|