History
home | history | then and now | cell 1 & 2
Cell 1 & 2 (561): Then And Now
 |
Cells 1 & 2 were the first large testing cells constructed as Pyestock.
Originally designed for ramjet tests, one cell was used for free jet testing, whilst the other was used for connected jet testing.
Although a complex looking structure, Cells 1 & 2 were simply composed of two
huge pipes with a blockhouse (almost bunker-like) control room placed inbetween. An enormous concrete structure towered over the end
of the cells, silencing the otherwise deafening roar produced by the gas turbines under test.
|
The air mains for Cells 1 & 2 was originally supplied from the
Plant House. When the Air House was
constructed later, further piping was added so the test cells could be supplied air from either source.
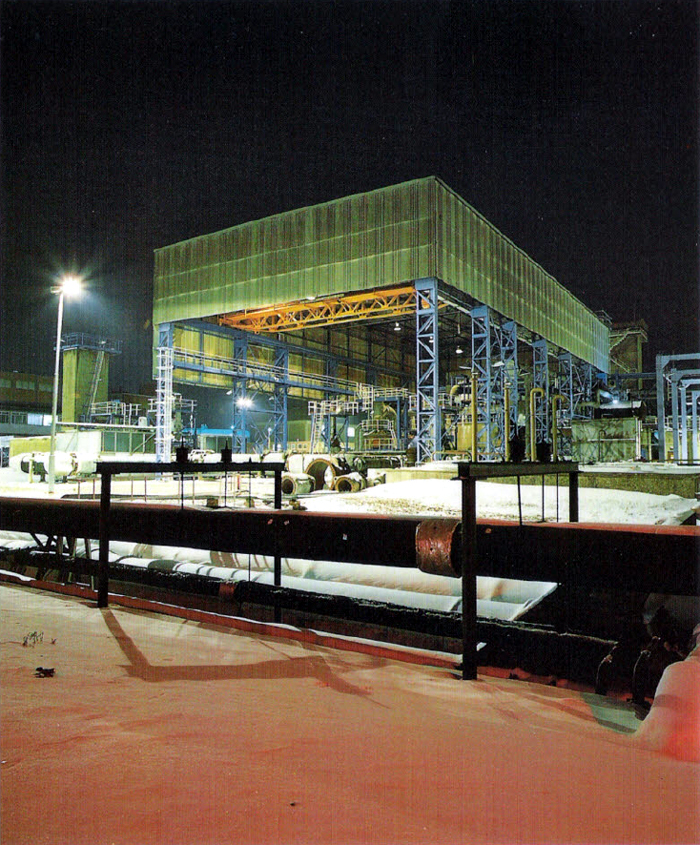
I’ve been unable to work out how the original photographer got this elevated view of the air mains on the eastern side of
Cells 1 & 2. There isn’t a building or structure he could’ve climbed up.
I believe the second picture has been subject to some colourizing. I can't believe Pyestock was that colourful at night.
My shot is a poor comparison of the first picture being taken a distance away, but the air mains can still be seen to the right of the sheltered area of
Cells 1 & 2.
|
|
View of Cells 1 and 2 showing air mains
|
|
|
Test cells 1 and 2
|

|
Looking north towards Cell 1 & 2. The Air Mains can be seen to the right of the covered section.
31|03|07 © Simon Cornwell 2007
|
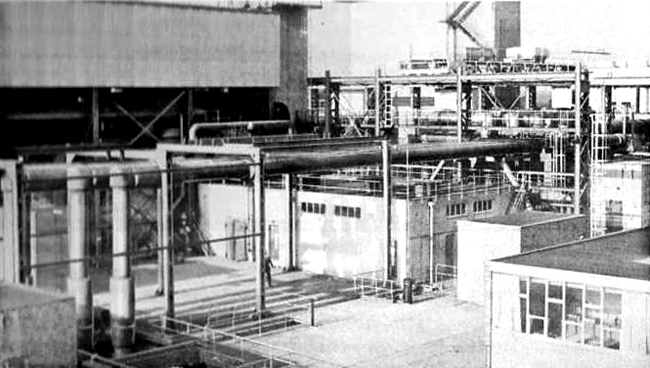
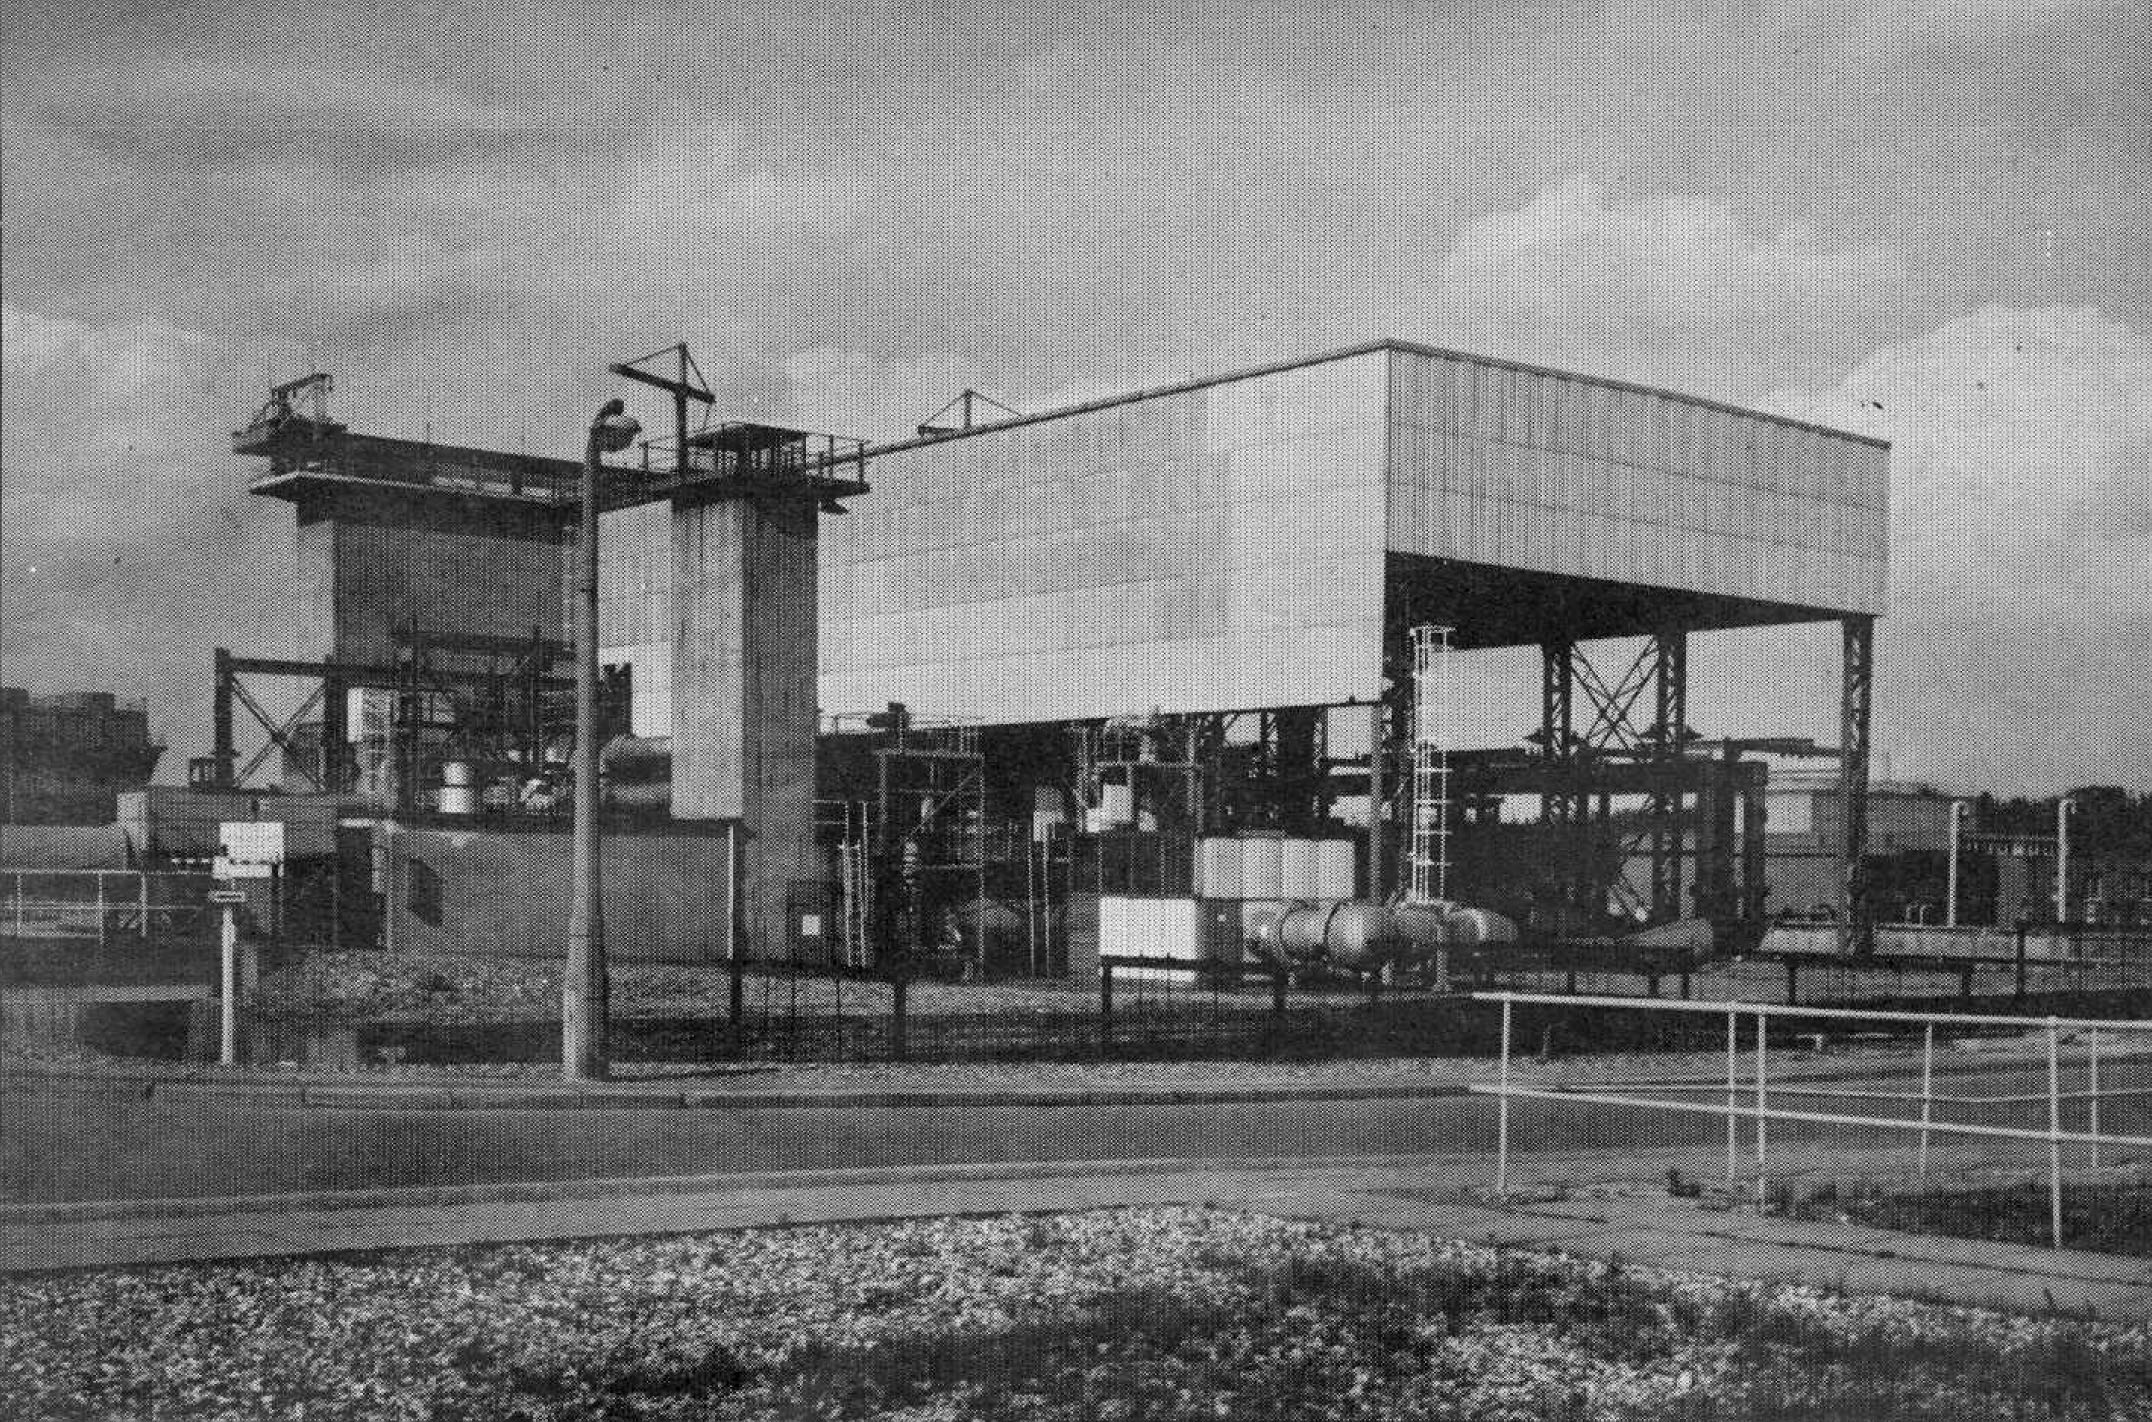
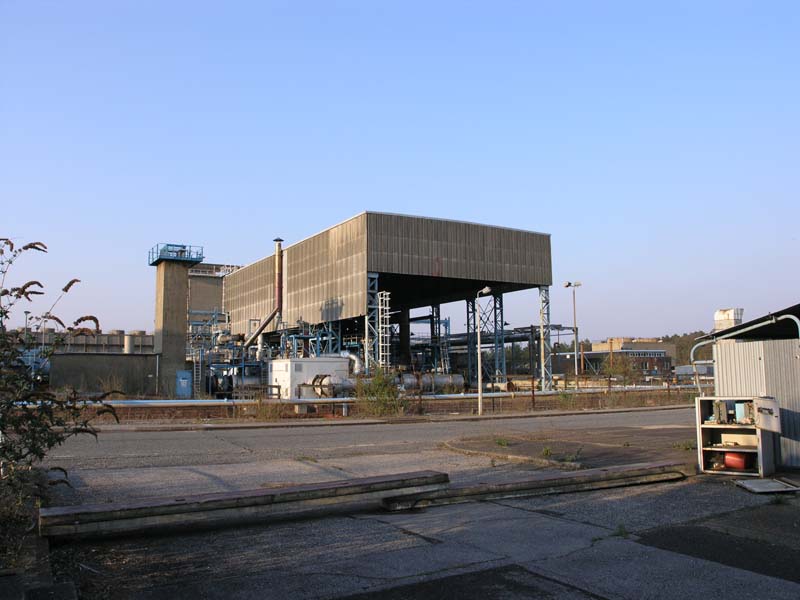
Again, the original photographer was higher than I was, when he took this shot of the south and western sides of
Cell 1 & 2. Again, very little has changed; the ducts routing the air mains
are still there, but can’t be seen in my shot as I’m not high enough.
|
|
General view of Cells 1 and 2
|
|
Looking north towards Cell 1 & 2, showing the western flank of the building.
31|03|07 © Simon Cornwell 2007
|
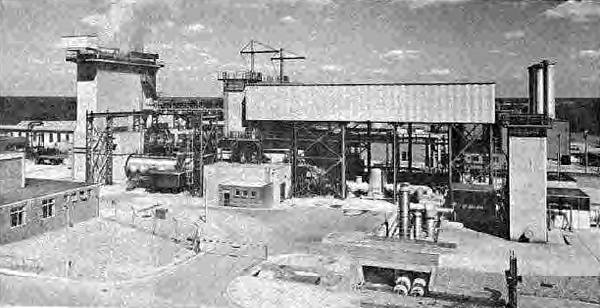
The original photographer and I took almost the same shot, this time from the offices in Plant House.
Comparing photographs does reveal some differences as the final installation became more cluttered over the years. Note the missing chimneys of
Battle Test House.
|
|
General view of Cells 1 and 2
|

|
Looking east towards Cell 1&2 from the Plant House offices.
31|03|07 © Simon Cornwell 2007
|
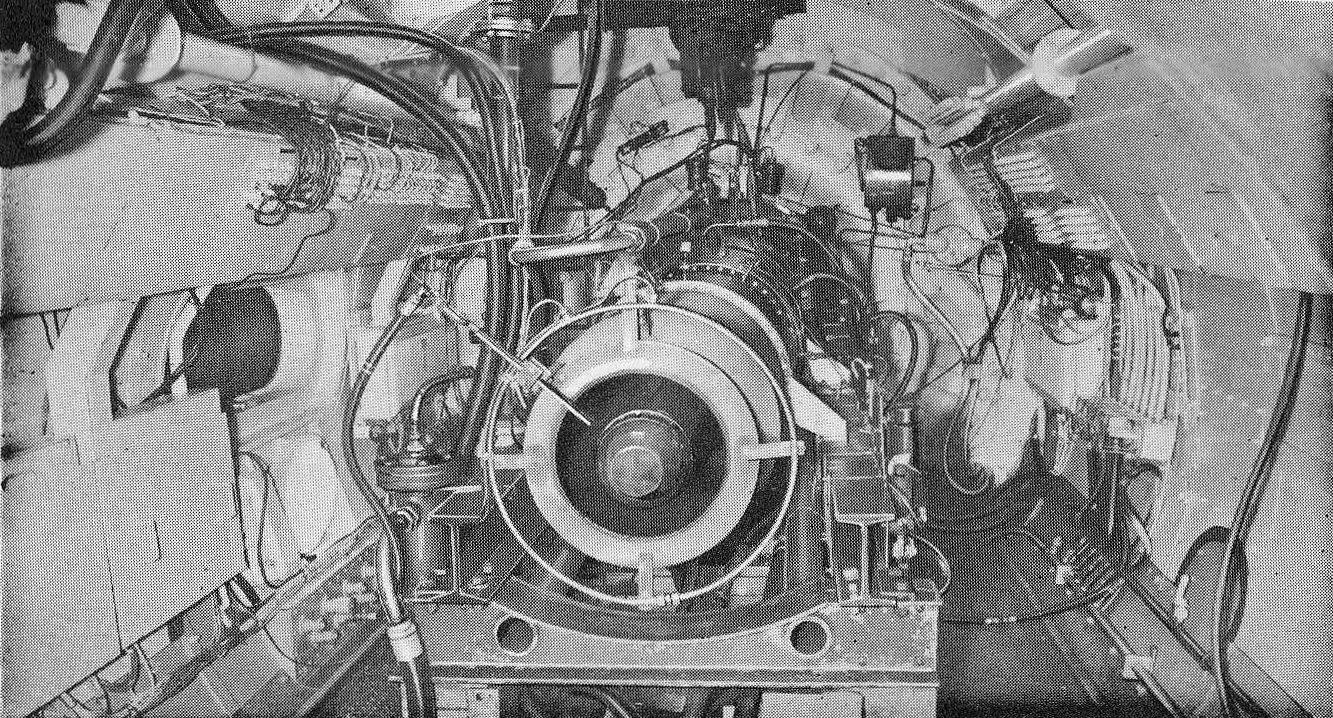
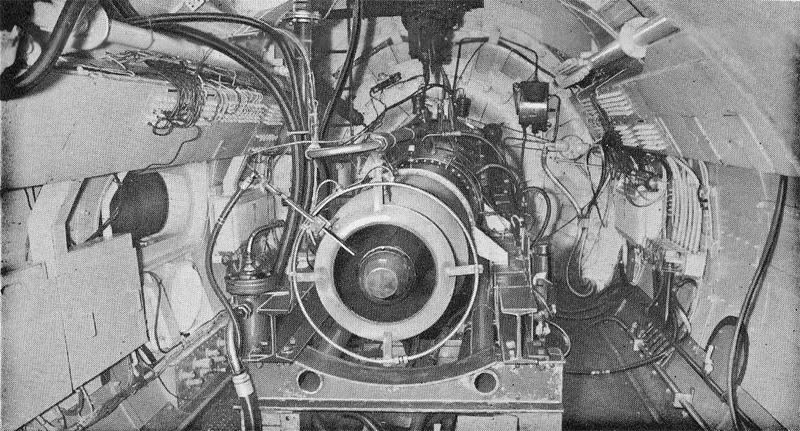
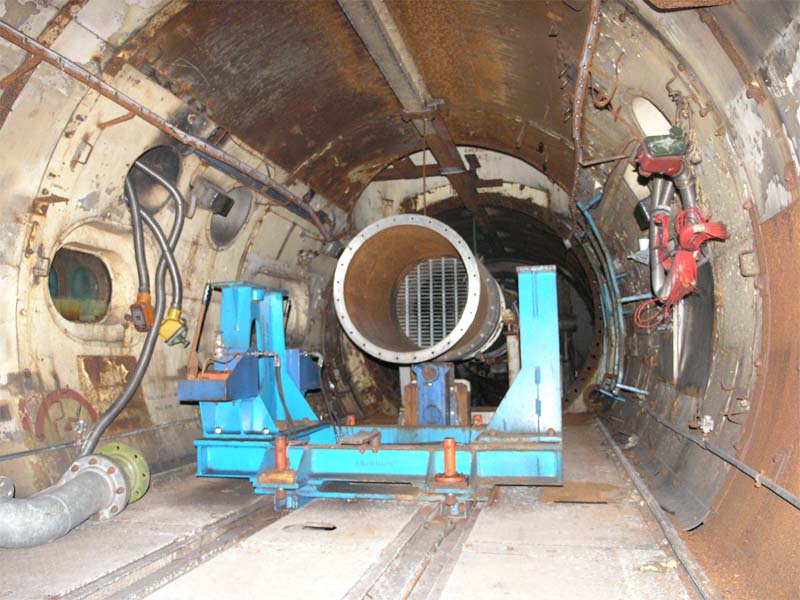
Cell 1 was the free jet cell and the photographer has captured a gas
turbine bolted onto the testing rig. My shot is considerably more barren; not only is the test rig now empty, but
much of the wiring, piping and electrical equipment fixed to the side of the cell walls appears to have gone.
|
|
A typical engine installation within the free jet cell
|
|
The same view, but looking extremely desolate in 2007.
21|04|07 © Simon Cornwell 2007
|
|
|
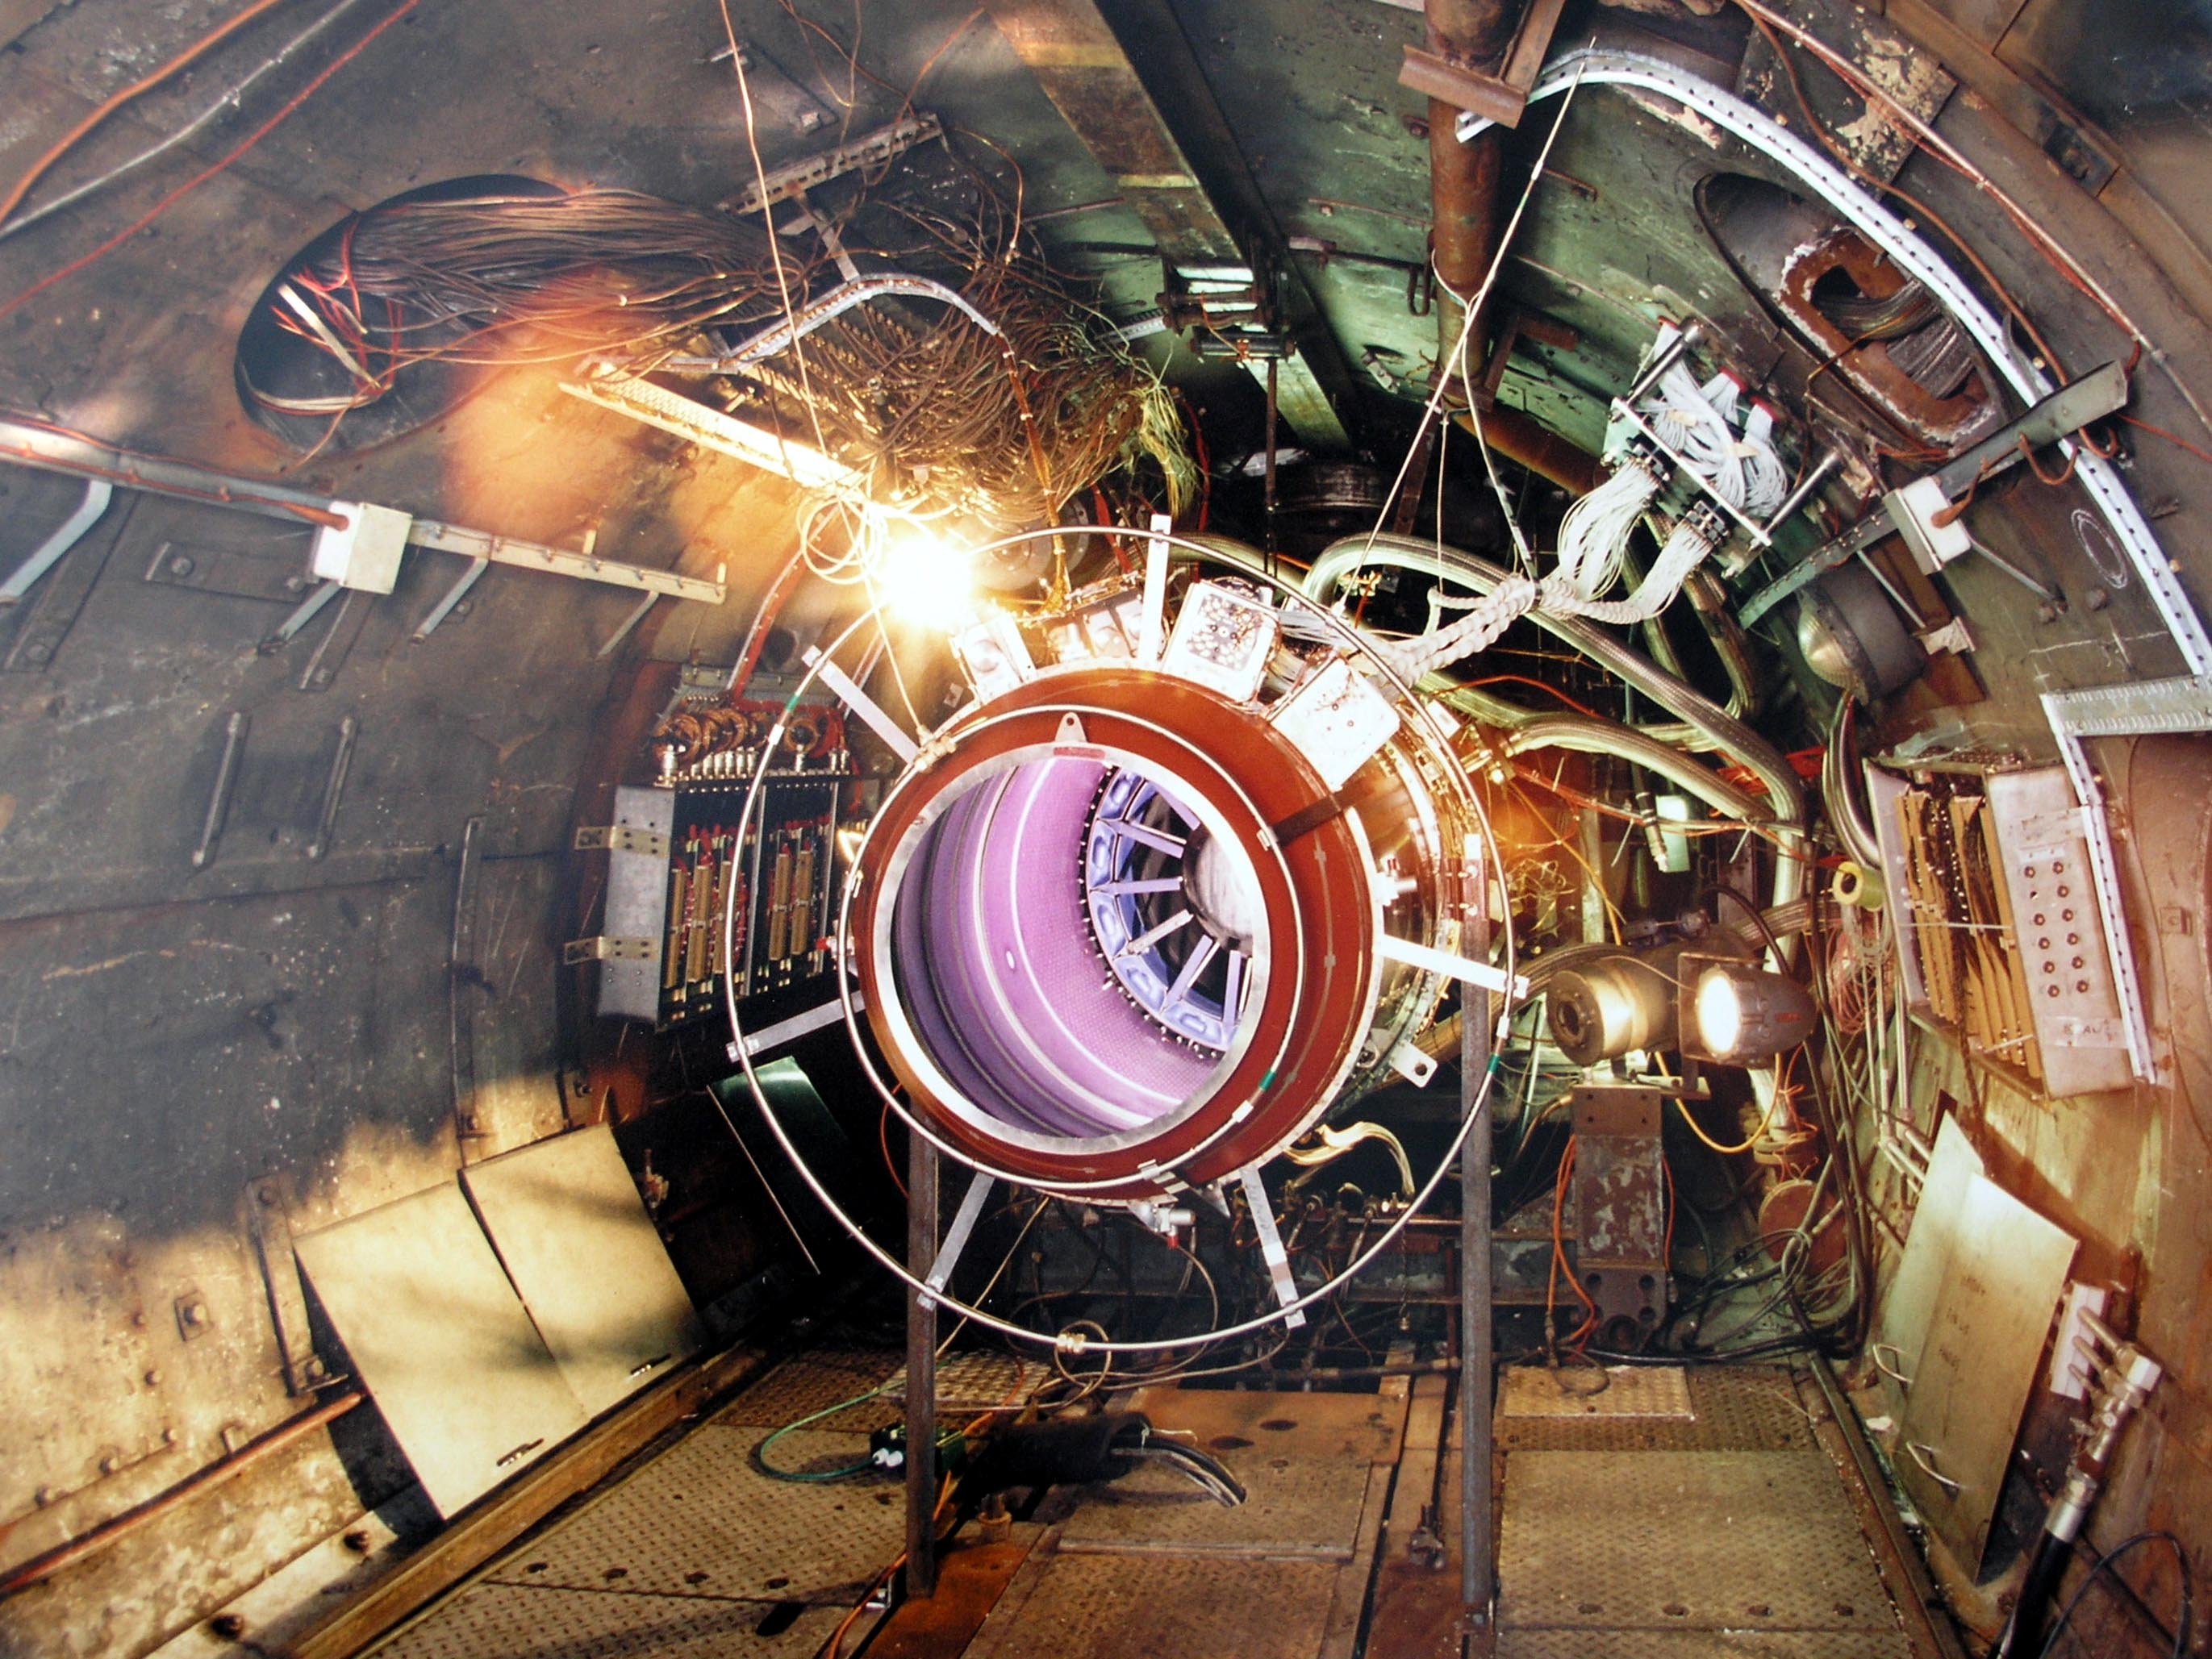
A test running in the neighbouring Cell 2. I don't have a comparison photograph.
|
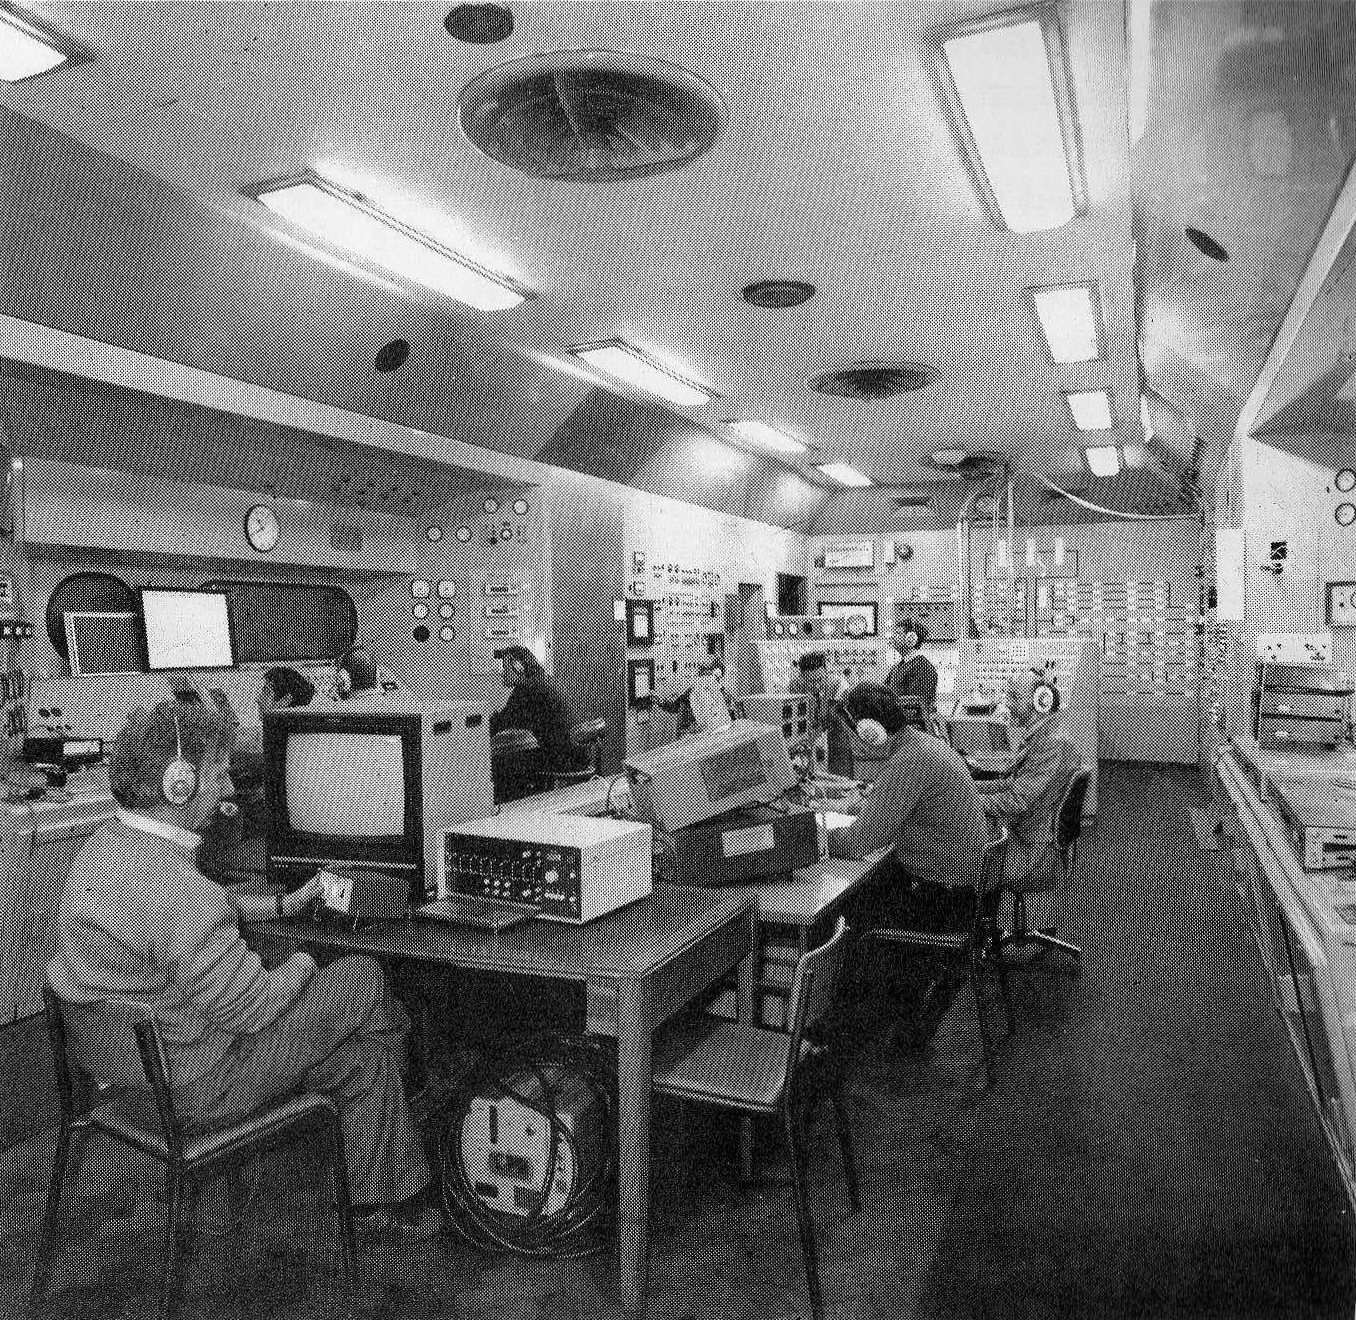
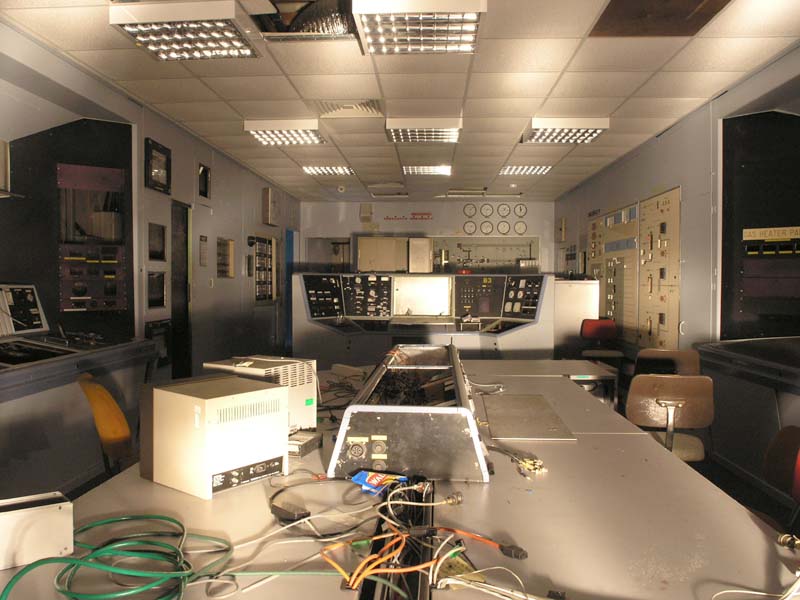
The general configuration of the control room hasn’t altered. The original photographer is stood at the northern end,
looking south; a viewing window can be seen on the left which looked into Cell 2, and
a corresponding window can be seen on the other side.
In 2007, the control room was pitch black and required lighting. But despite the new ceiling and modernised instrument panels, some
features remained the same; the curved instrument console at the end of the room, the viewing windows into each of the cells
and the central desk with its raised centre section for plug sockets and communication leads.

|
|
The main control room for Cells 1 and 2
|
|
A similar view (and poor light-painting with a failing torch).
21|04|07 © Simon Cornwell 2007
|
The main tube of Cell 1 was cast by Marshall of Gainsborough. In this shot, the
entire tube comprising the cell can be seen when it arrived at Pyestock and before the ends were encased in
concrete structures.
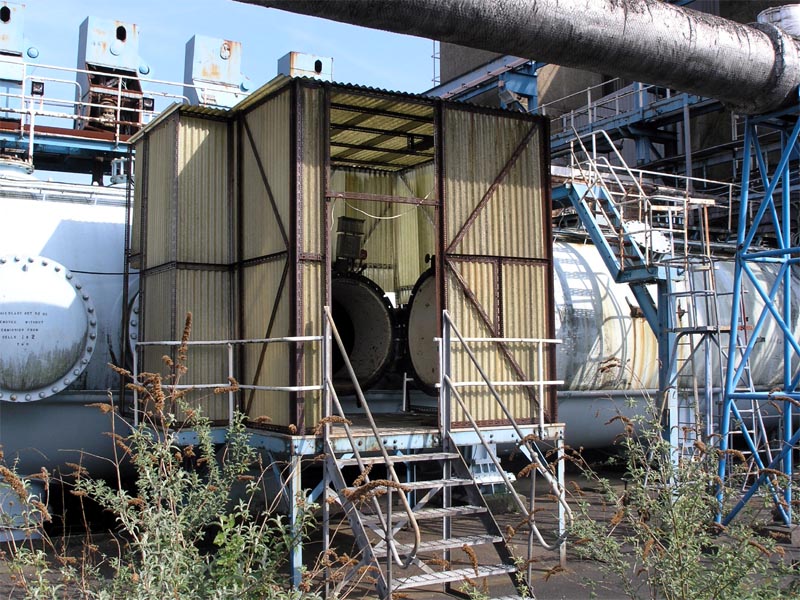
The fourth large portal from the left was used as the cell access point; over fifty years later, you could climb up the five steps into the small shelter
and then step into the interior of the cell itself.
It would be interesting to see if the door at the far right end of the cell still exists.

|
|
Cell 1 arrives at Pyestock
|
|
About fifty years later and the tube of the cell is still easily recognisable.
21|04|07 © Simon Cornwell 2007
|
|